创建好项目之后,现在就可以修改app.js并保存看效果了
一些基本组件的使用
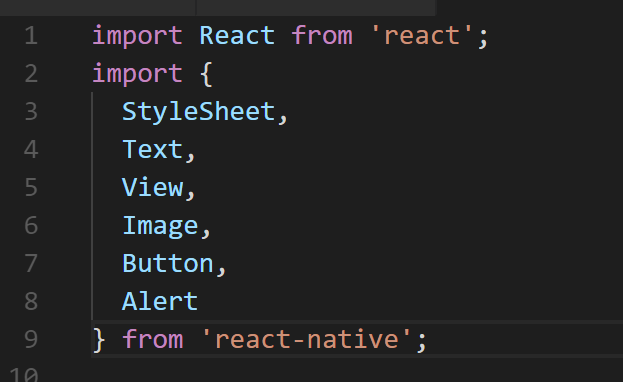
这里列出了几个上手的组件,通过props添加属性,这里以Image举例:
Image
1
2
3
4
| <Image
source={ require('./images/laopo.jpg') }
style={styles.laopo}
/>
|
source属性可以指定一个图片的地址,可以是一个对象
1
| source={{ url: '/image.jpg' }}
|
也可以用 require() 引入静态资源。
StyleSheet
这里要讲一下style的定义方式,可以直接
1
2
3
4
| sytle={{
width: 400,
height: 400
}}
|
当然更推荐的是在代码内用
1
2
3
4
5
6
7
8
9
10
11
12
13
14
| const styles = StyleSheet.create({
container: {
flex: 1,
backgroundColor: '#fff',
alignItems: 'center',
justifyContent: 'center',
},
laopo: {
width: 450,
height: 500,
left: 40,
top: -80
}
});
|
然后再style属性里如上的方式添加样式,跟css的属性还是比较有出入,这些就去看文档就好啦
1
2
3
4
5
6
7
| <Button
title="看更多..."
color="#841584"
onPress={() =>
console.log('button被点击了')
}
/>
|
onPress是button被按下时的时间,在可点击的组件里都可以注册这个事件
在需要捕捉用户点击操作时,可以使用”Touchable”开头的一系列组件。这些组件通过onPress属性接受一个点击事件的处理函数。当一个点击操作开始并且终止于本组件时(即在本组件上按下手指并且抬起手指时也没有移开到组件外),此函数会被调用。
基本API
这里说几个基本的API吧,最基本的莫过于Alert了
Alert
1
2
3
4
5
6
7
8
9
10
11
12
13
14
15
| <Button
title="Click Me!!"
onPress={() => {
Alert.alert(
'标题',
'内容',
[
{text: '嘿嘿嘿', onPress: () => console.log('嘿嘿嘿')},
{text: '取消', onPress: () => console.log('取消'), style: 'cancel'},
{text: '确定', onPress: () => console.log('确定')},
],
{ cancelable: false }
);
}}
/>
|
这一看就能看懂吧。。。效果如图

AlertIOS
这个是针对IOS用的,启动一个允许用户输入的对话框
1
2
3
4
5
6
7
8
9
10
11
12
13
| AlertIOS.prompt(
'标题',
'内容',
[
{text: '嘿嘿嘿', onPress: () => console.log('嘿嘿嘿')},
{text: '取消', onPress: () => console.log('取消'), style: 'cancel'},
{text: '确定', onPress: () => console.log('确定')},
],
(promptData) => {
console.log(promptData)
}
);
/>
|
(end)